How I selected parts for my future bike, I wrote in previous articles, including about wheels.
Now all the components for assembling a bicycle are on hand. But before assembling the entire bike, you first need to assemble the wheels, because you cannot put a groupset without wheels. It would seem that you can at least assemble a handlebar, but it is better not to do this in advance because the fork comes from the factory with a long steerer tube, which in any case will have to be shortened. And to know how much to shorten it, you have to assemble the bike to some extent and try to ride with a different number of spacer rings under the stem. This, of course, if you want to adjust a more comfortable handlebar height for yourself.
Painting carbon rims
I really wanted the wheels (namely the rims) to match the color of the frameset. But painting in workshops is expensive (a bicycle already cost me a fortune), and it’s difficult to do it myself, especially since I had no painting experience. The doubts were long, but ultimately the desire overcame hesitation, I decided to paint.
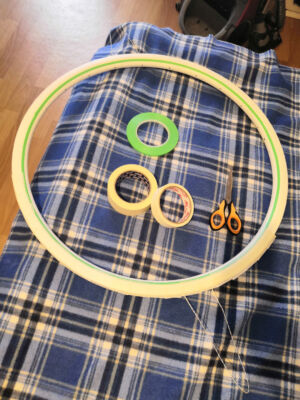
I wanted two-tone wheels, as did the frame. I bought white and red spray paint, as well as varnish. I realized that frame color is not just white, but with a cream shade, it turned out to be more difficult to find such paint.
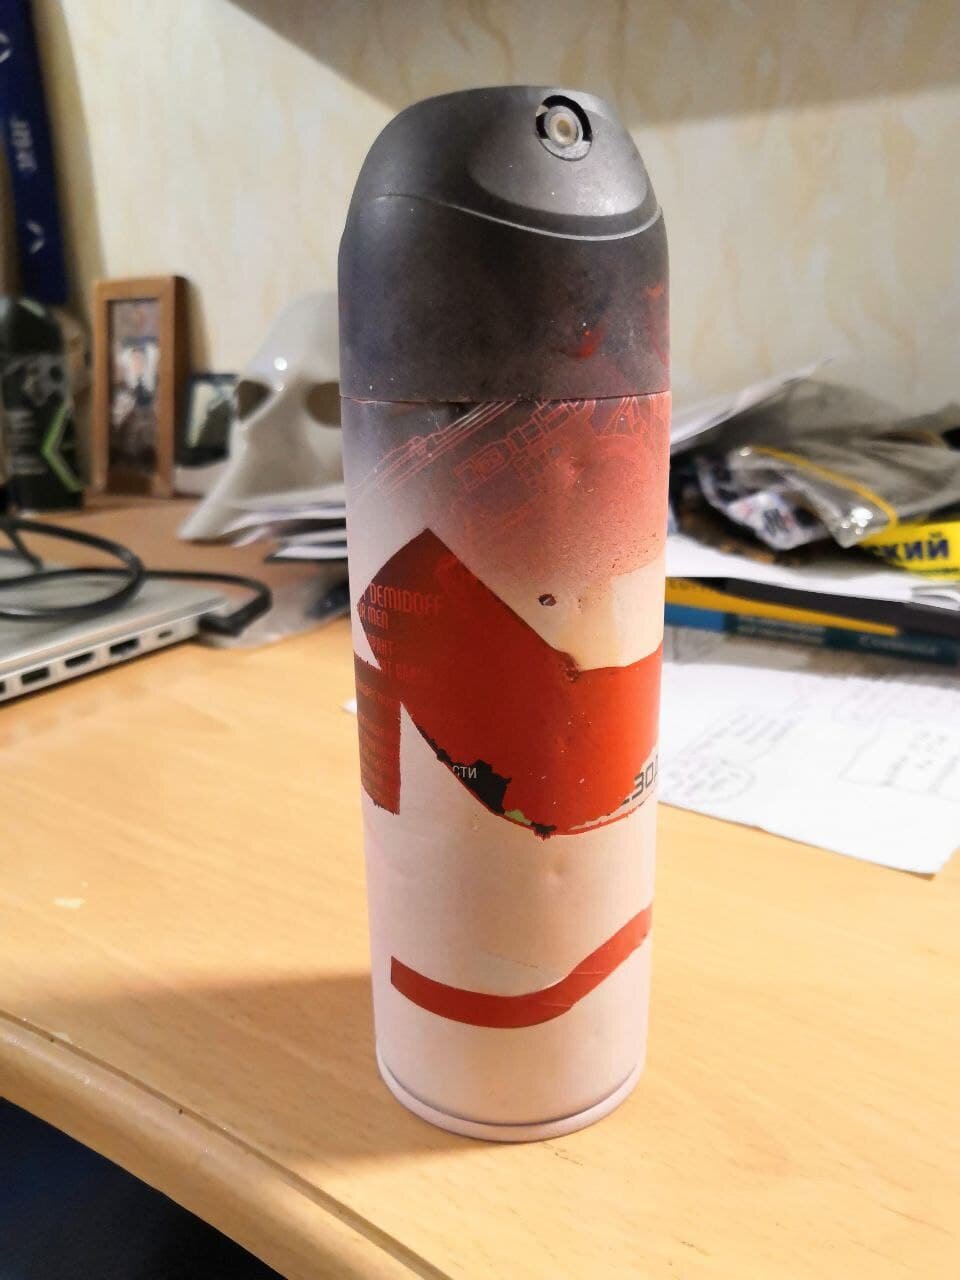
Well, first I need to practice painting, the first test subject was a spray can of deodorant 😁 I painted it first with red paint, then glued the stripes with masking tape and contour tape, then applied white paint. As a rule, first, it is more convenient to apply the color that will be less, so that less tinker with masking tape. After removing the tape, everything was fine. However, as soon as I applied the varnish, the red paint began to show through from under the white 😨 It looked like the varnish dissolved the white paint a little. I decided to try to add primer first (I had to buy it), in the hope that it would somehow help… And… it didn’t help. I did a lot of experiments with the number of layers, the time between applying layers. And I managed to make sure that the red paint did not come through white, I applied an ultra thin first layer of varnish, literally barely sprayed it, I added the next couple of layers very slightly too.

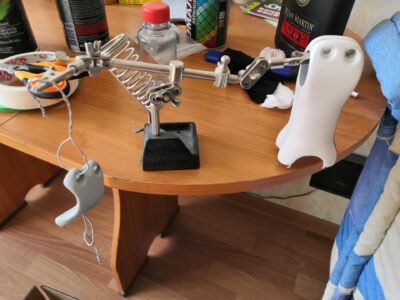
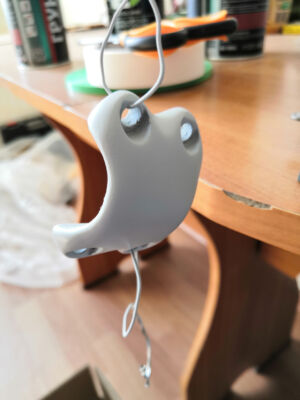
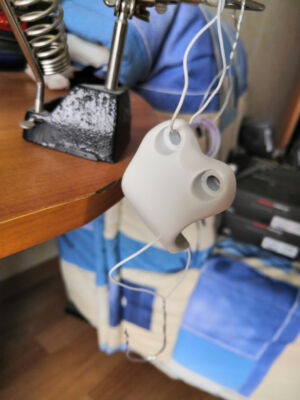
I decided that this was a success, I must start painting. But not wheels 😅 The stem, it’s also carbon fiber. I decided to do the first live experiment on it. First of all, the detail had to be sanded. I peeled off the factory varnish almost down to the carbon fiber. I used sandpaper P80 and P240. I did not immediately guess to hang the stem on a wire, I painted it, holding it in my hand (with a glove, of course). It was inconvenient, I had to cover the entire part with a layer and at the same time not to leave prints on it. But I did it. I applied a layer of red, then masking tape, then a layer of white. And here is the moment of truth – spraying of varnish. And here I messed up. When you hold a part in a hand, it is difficult to spray the varnish evenly from all sides from the same distance. The varnish layer was not very thin, as a result of which the red color seeped out in some places, creating reddish-pink spots. It took a lot of time even to process such a small part of bike. I decided to leave it as it is, especially it is not so bad.
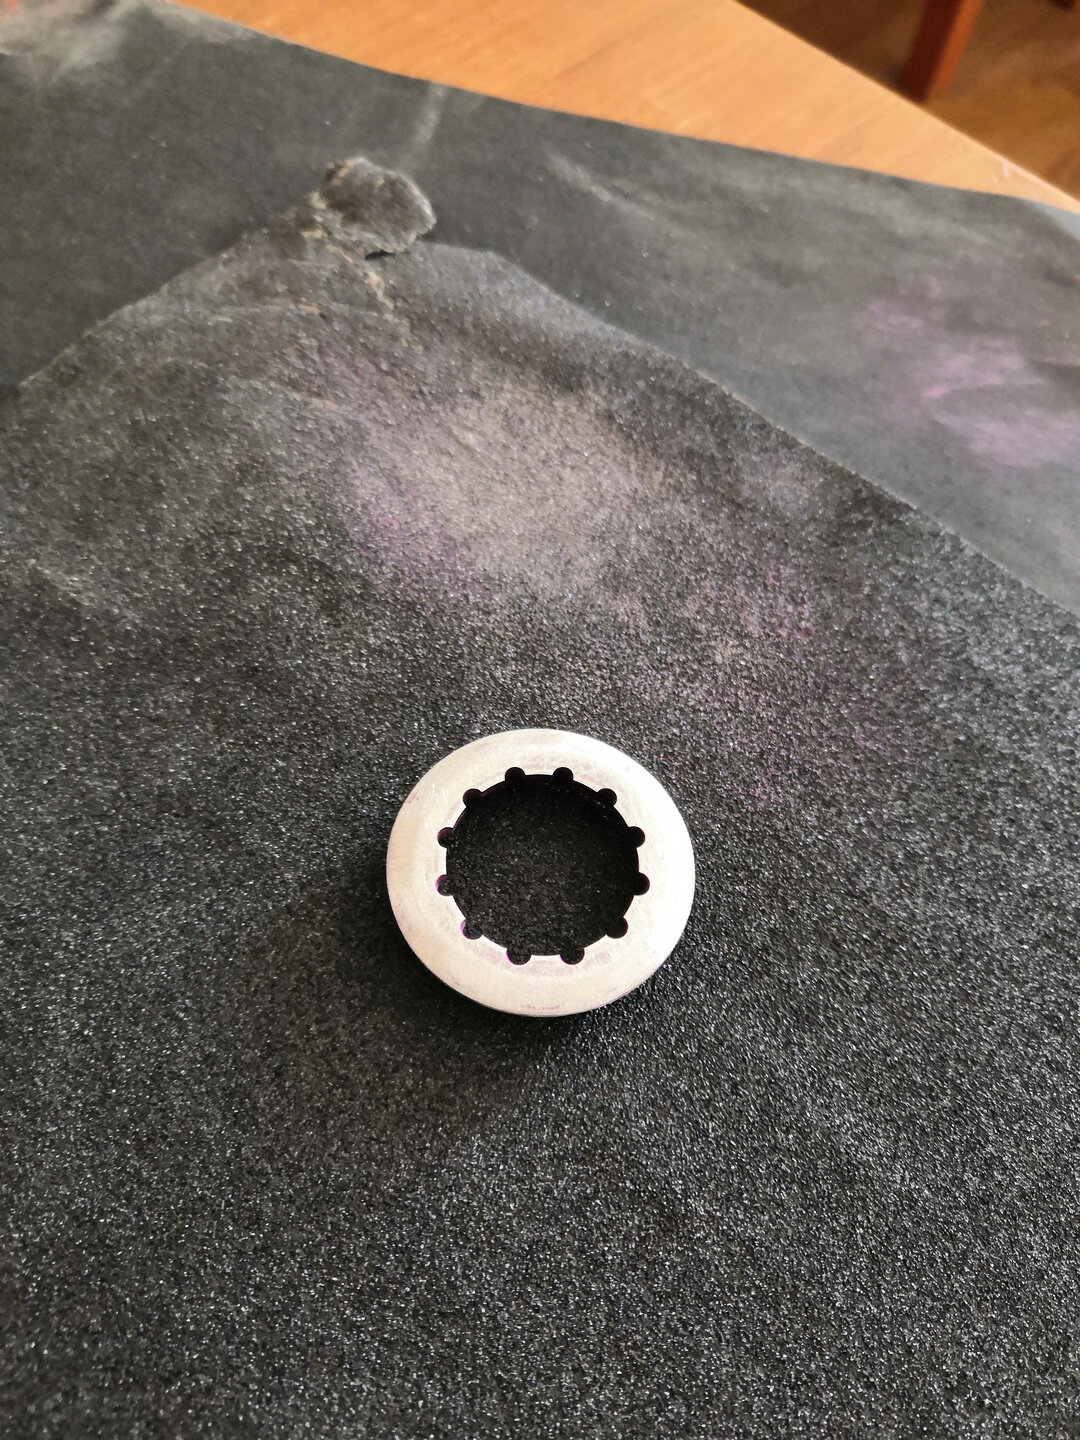
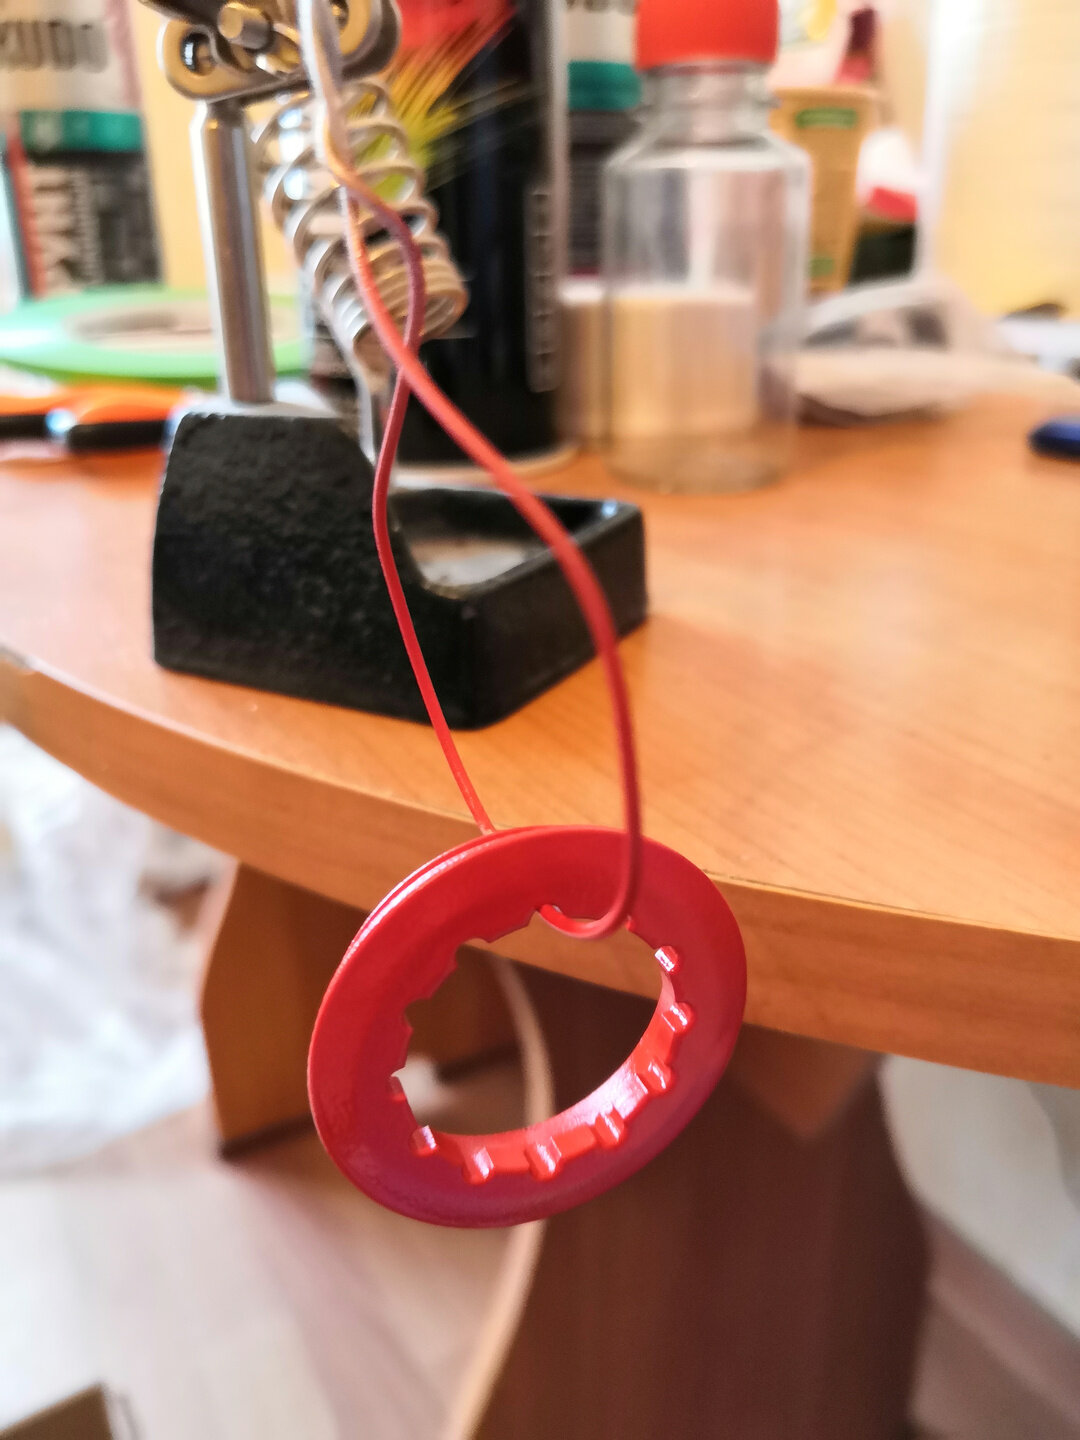
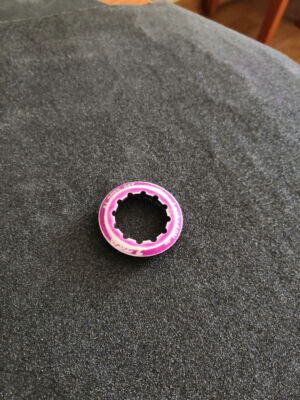
Along the way, I painted the cassette nut, as it was lilac and did not match at all with the style of the bike.


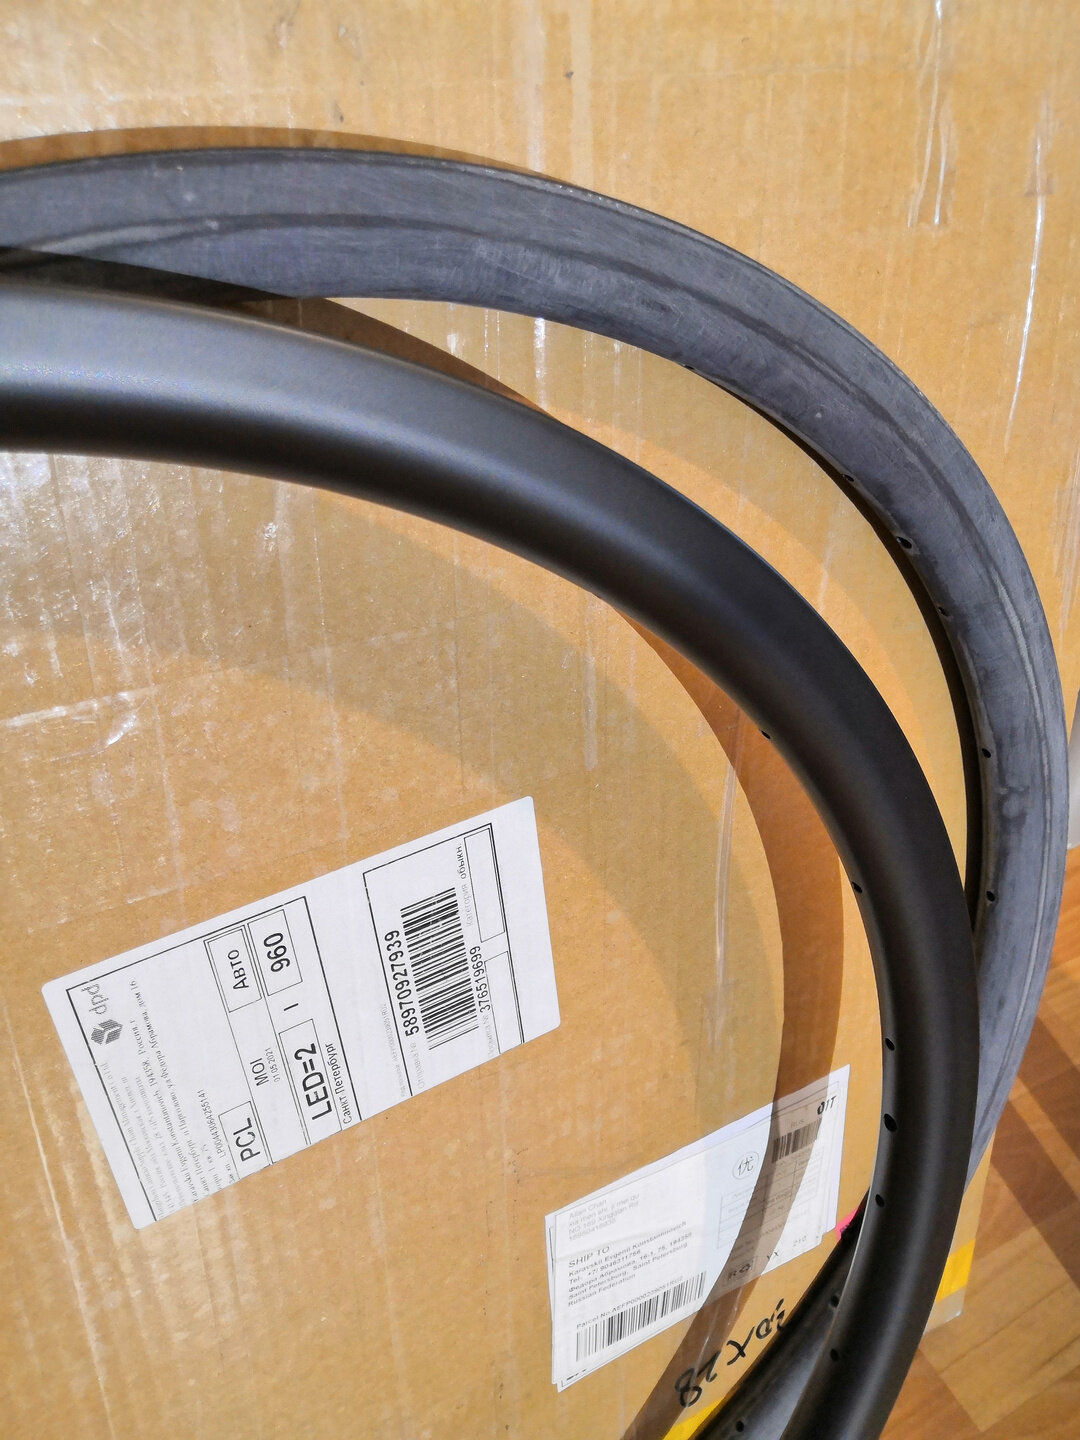
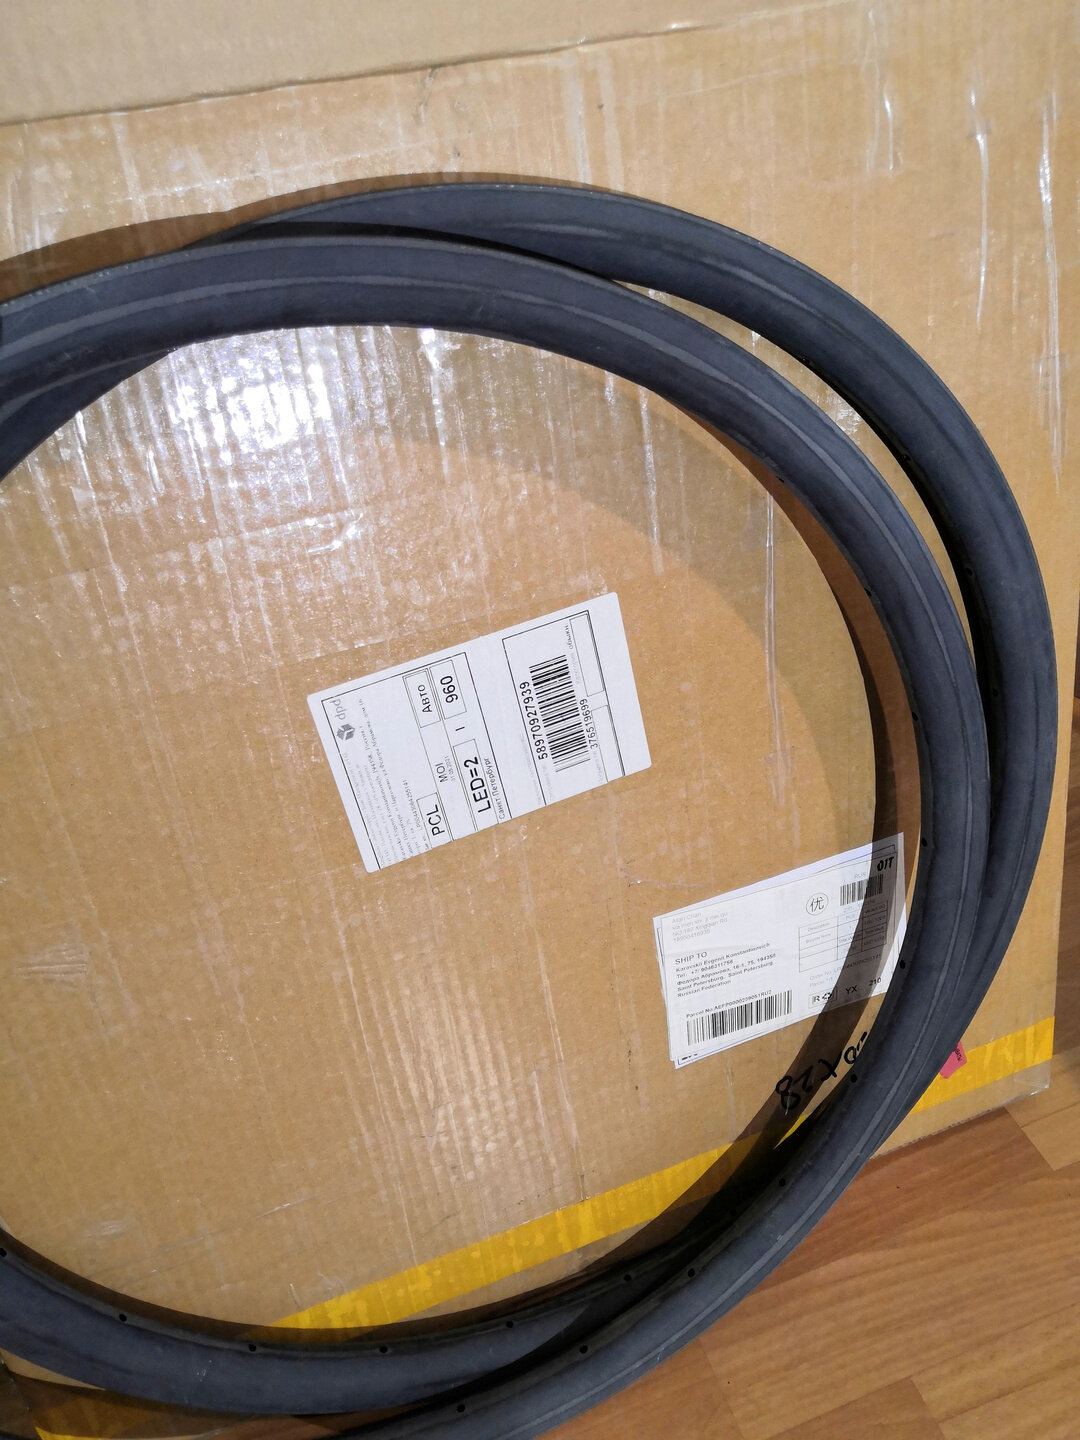
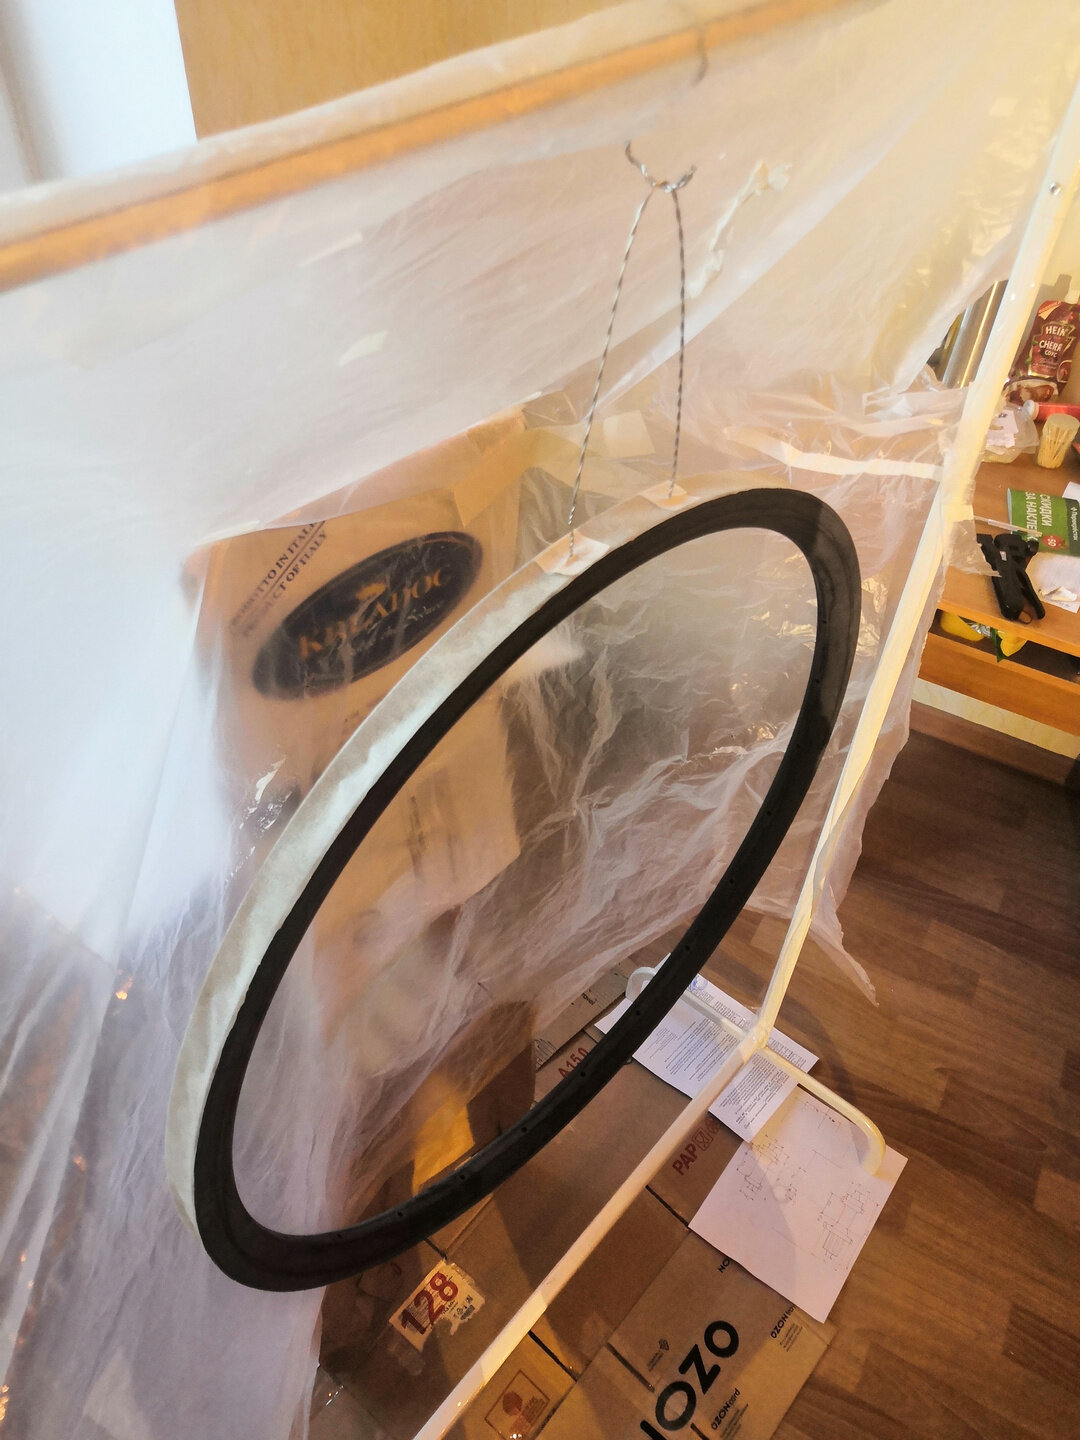
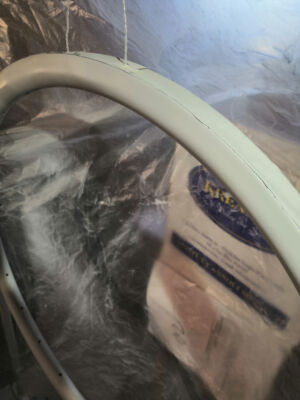
It was necessary to sand the rims with sandpaper. How painful it was to make the first movements, scratching the rims 😖 Up to this point, there was still a chance to leave the rims black, they would look good anyway. But having started to sand, there was no turning back. The benefit of the rims is that the parts are simple in shape, smooth, without any protrusions, so it was easy to sand. But not to say that quickly, the thickness of the varnish layer was decent.
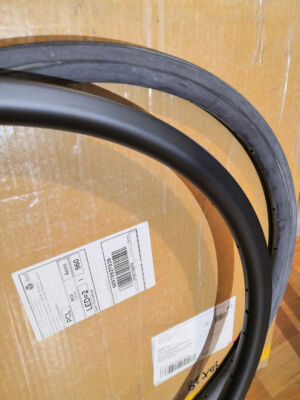

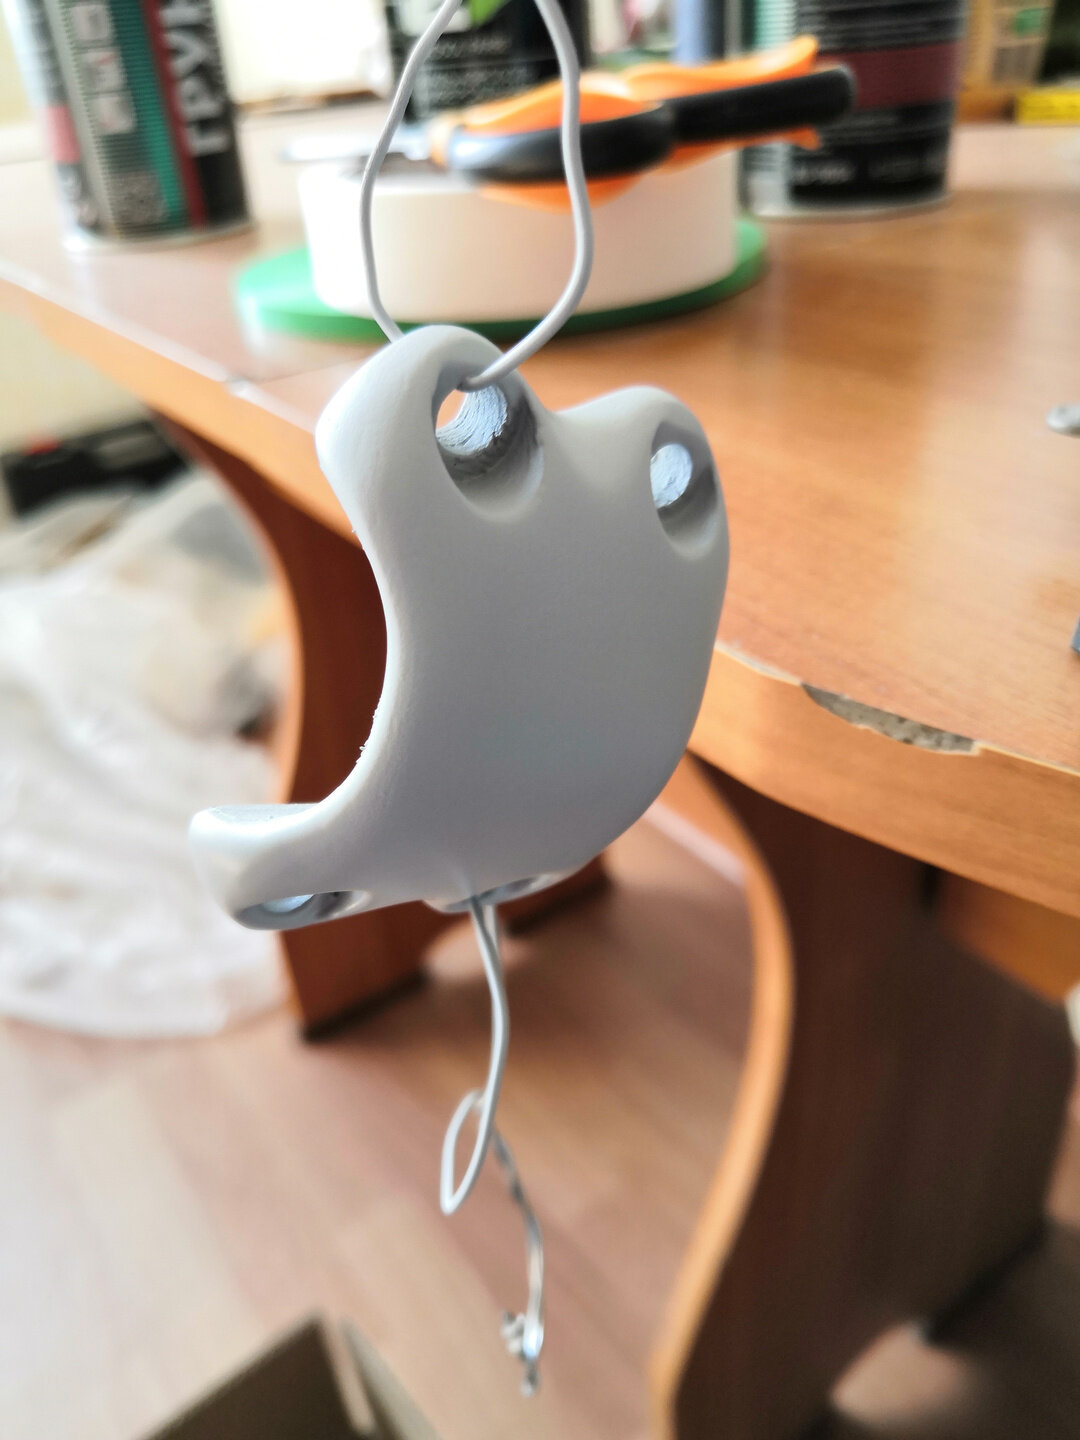
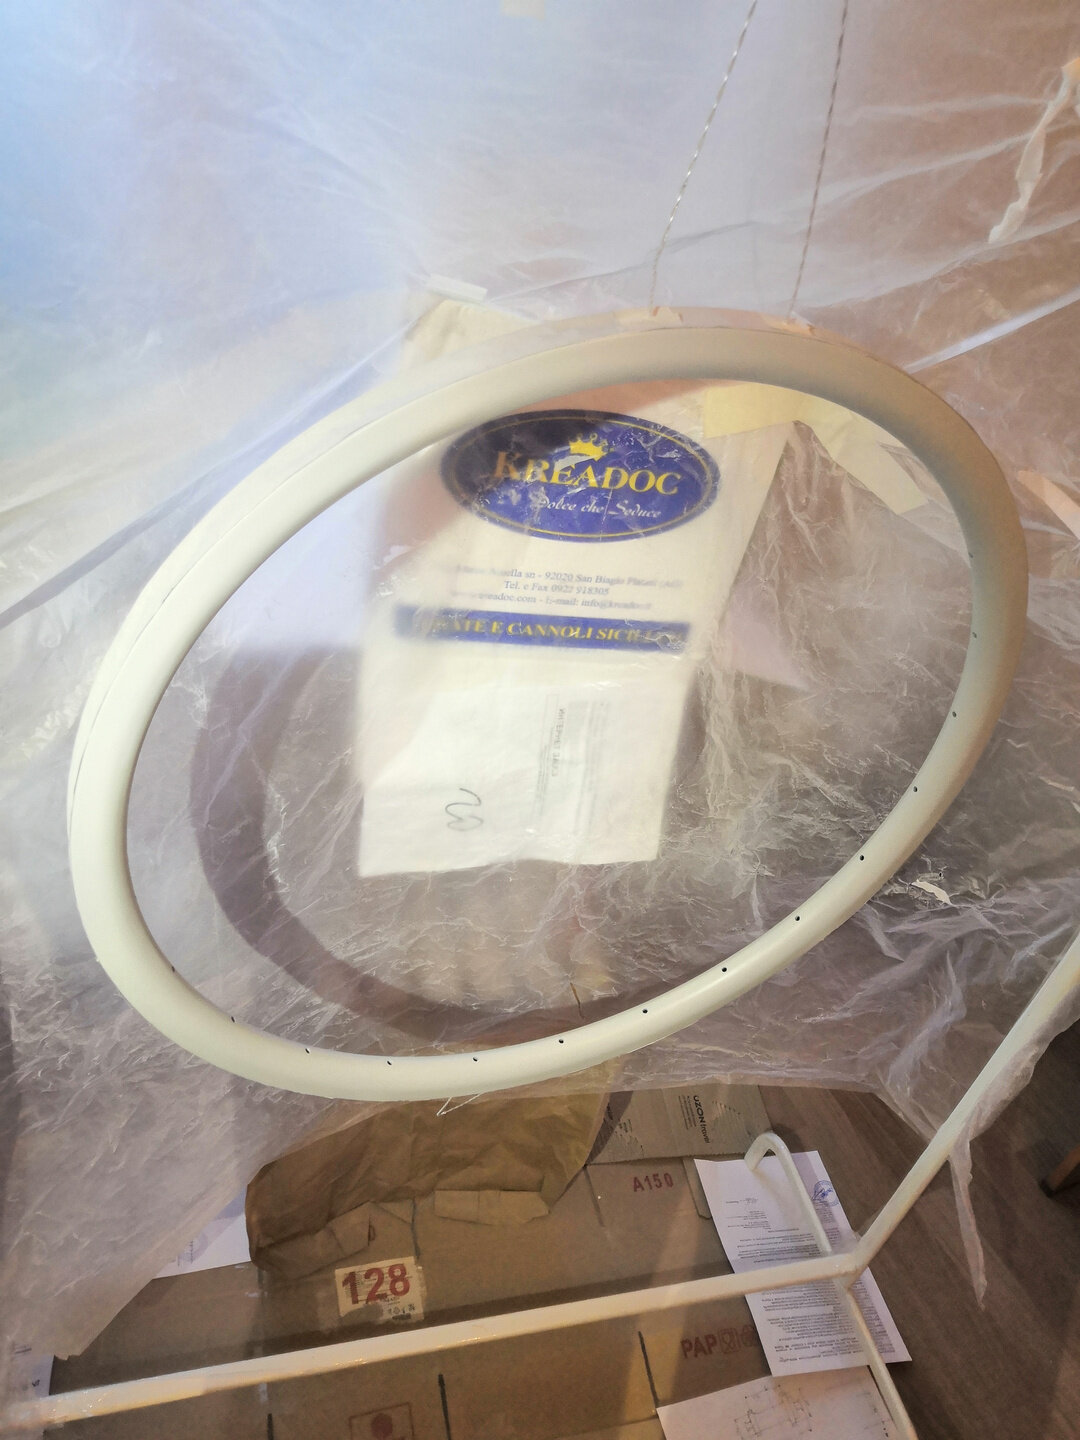
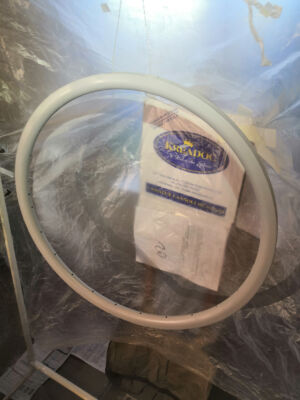
Before painting, I sealed the edge of the rim with masking tape so as not to paint the inside, where the rim tape will be stuck. I also made rim hooks out of wire by inserting the ends of the wire into the nipple holes.
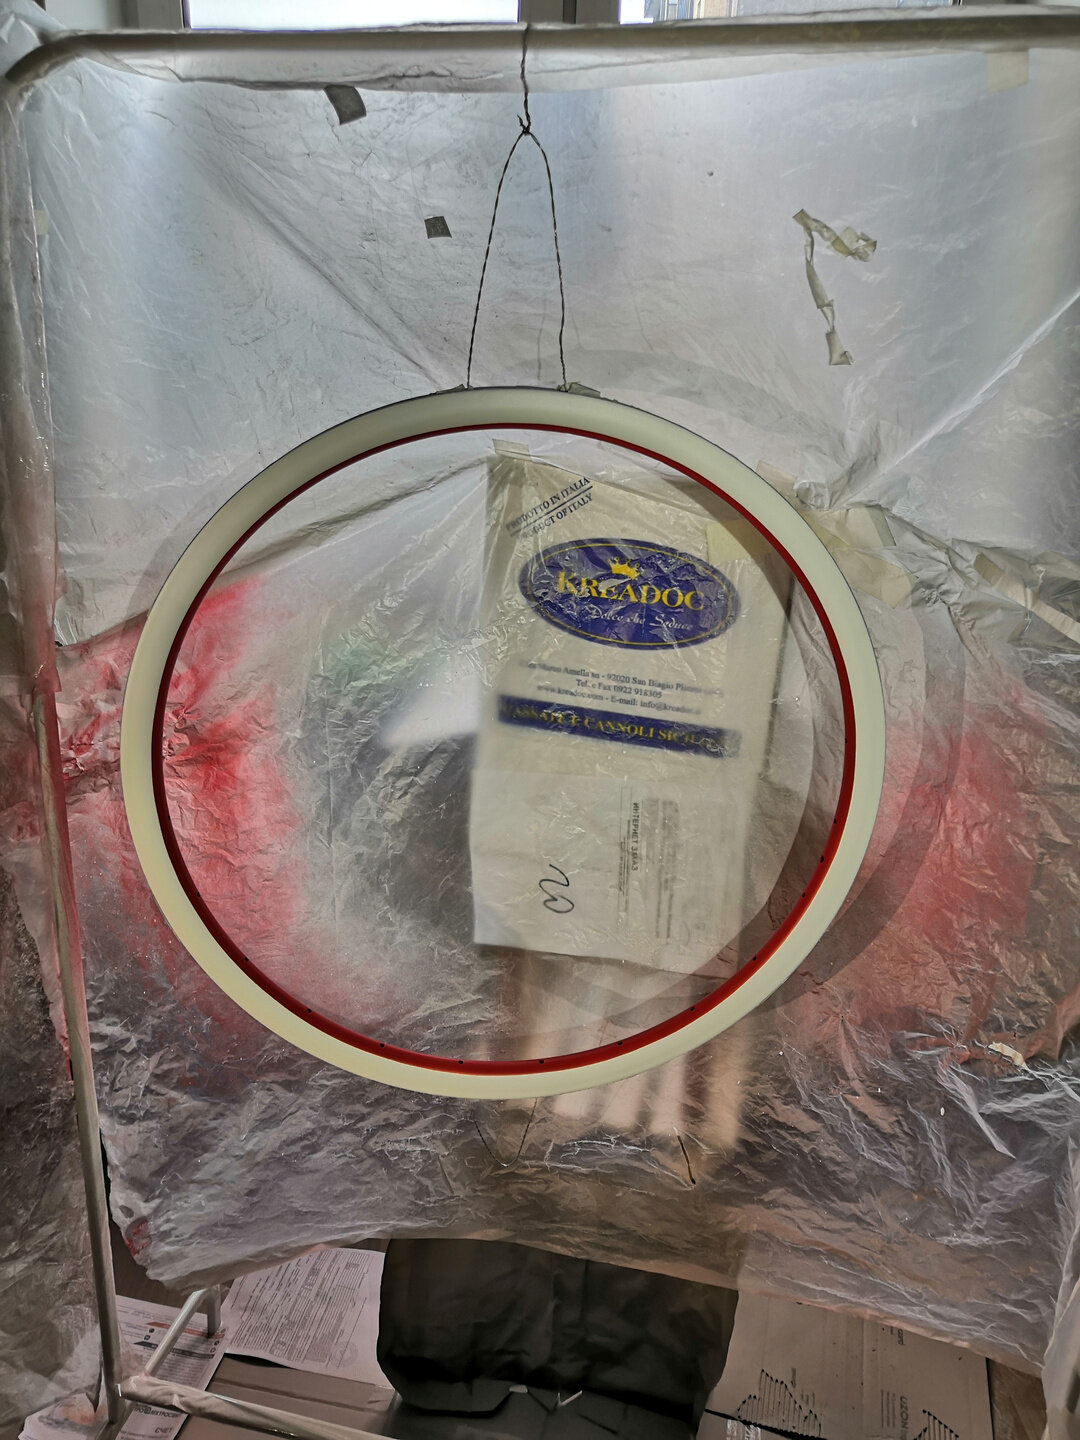
I have no workshop, I was going to paint at home. In order not to stain the kitchen (kitchen is because I have some free space here), I assembled a frame for painting from a hanger and a film. It seemed to me that this would be sufficient protection, but I was wrong 😅
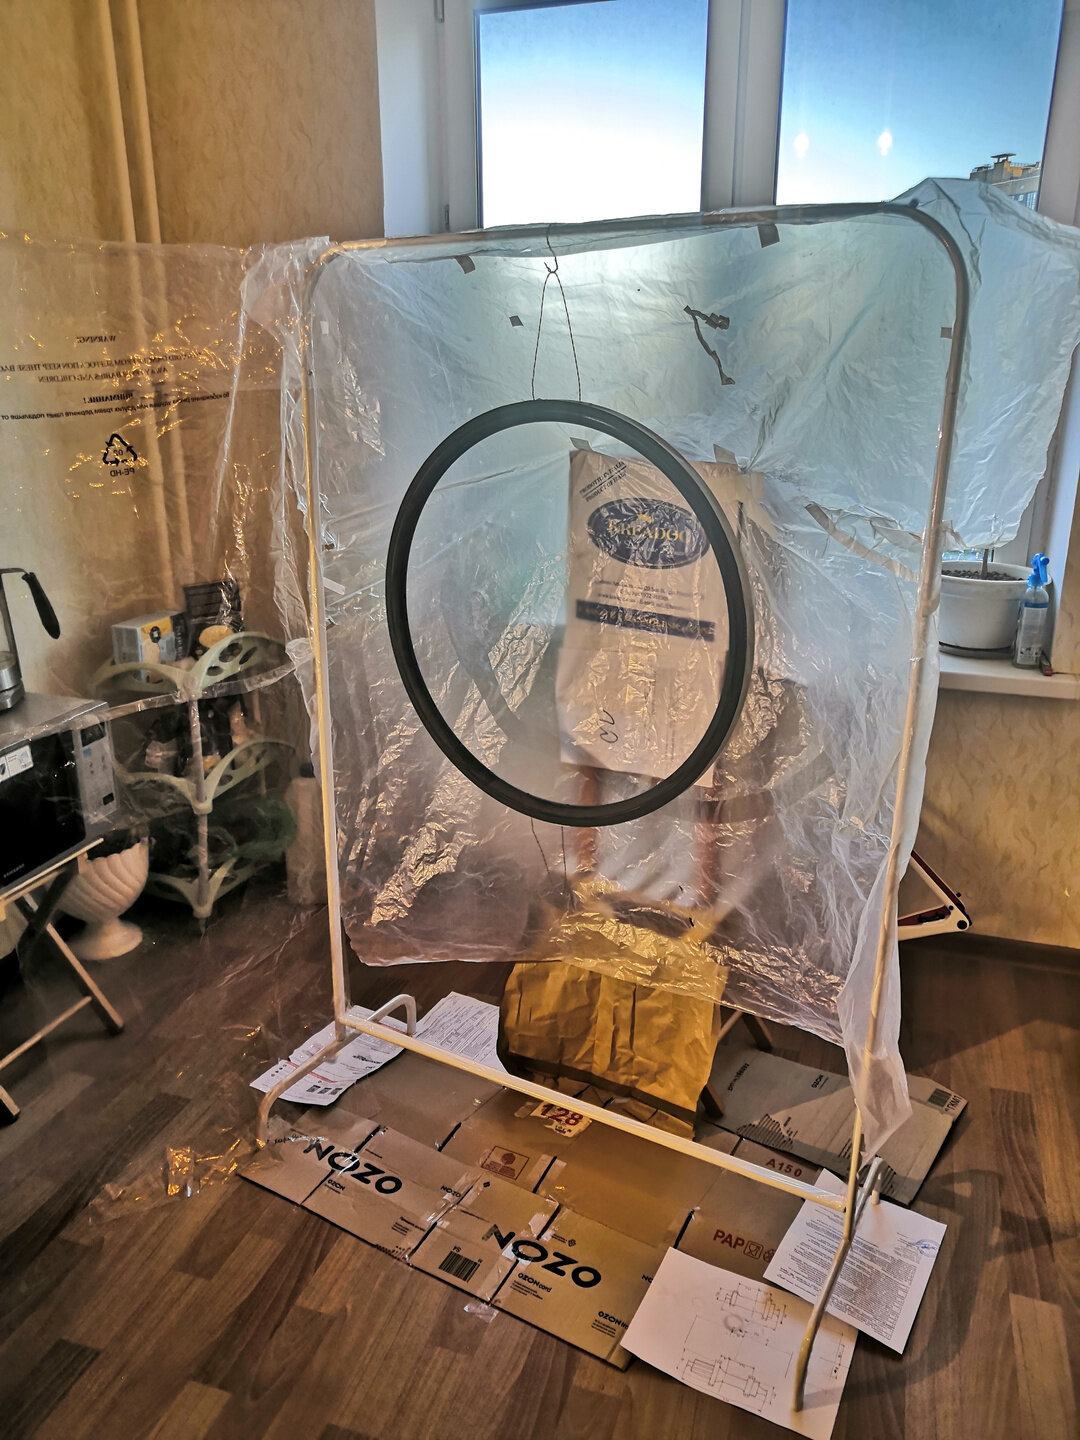
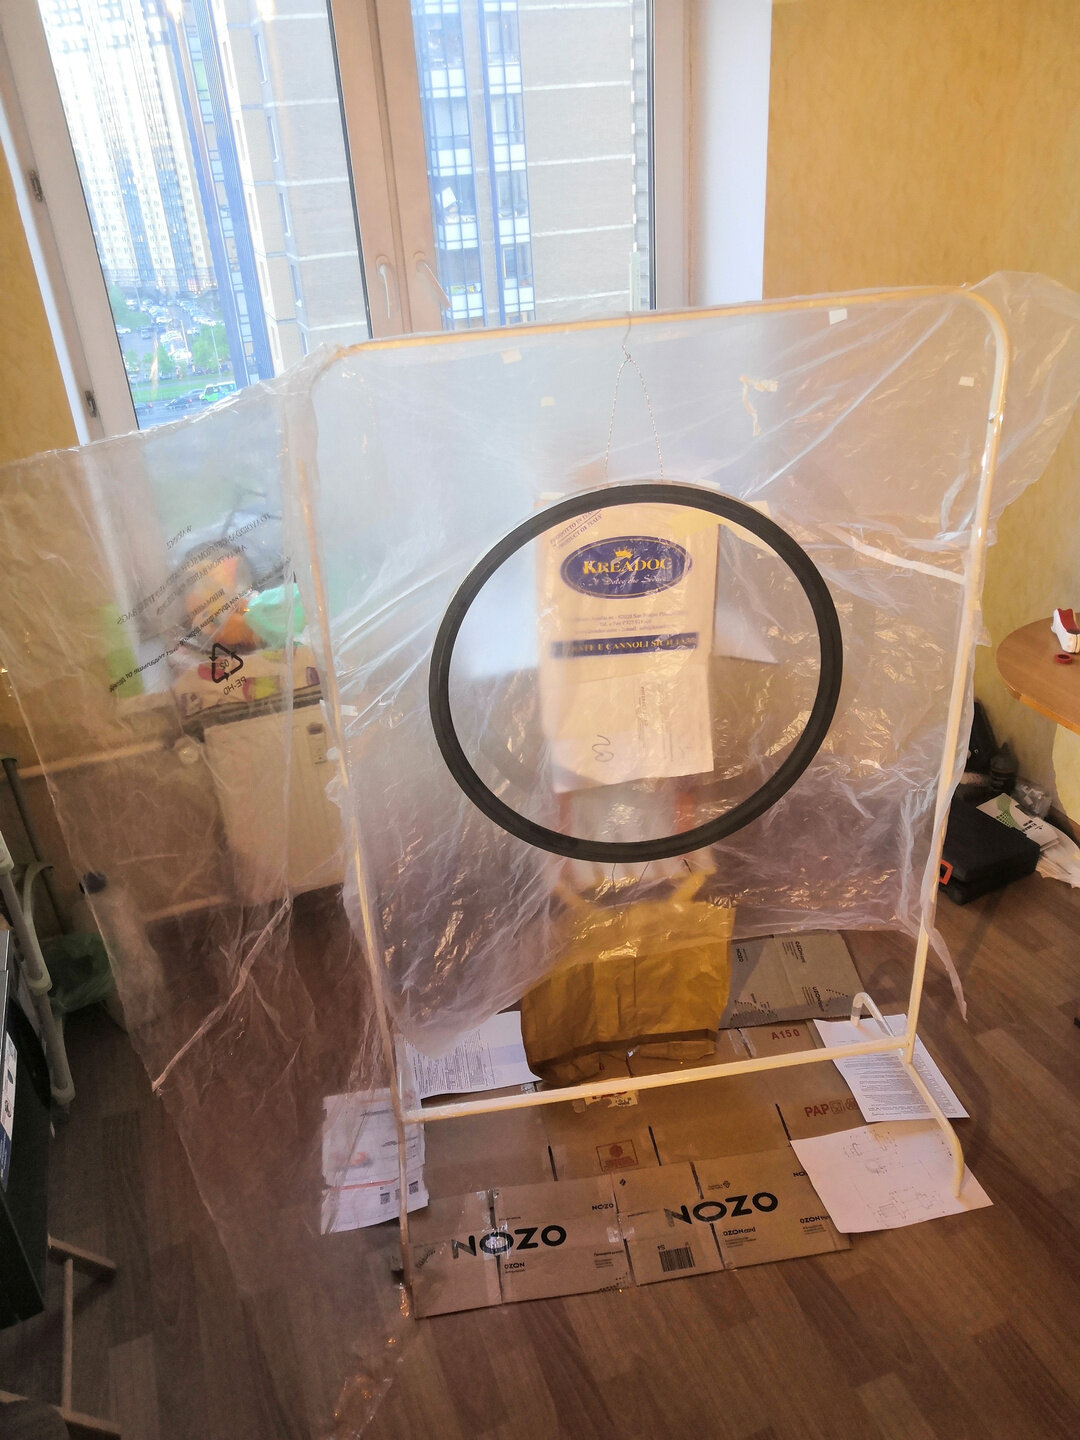


First I painted one wheel completely, then the second. First, I applied a couple of layers of primer. And then I already realized that there was no sense in my frame in terms of protection. At best, half of the mass of the spray settled on the rim, while the rest of the stream did not settle on the film behind the rim, as I expected, but spread throughout the kitchen. Aerosol flew in the air and after a while settled on everything around! It was hell to clean the kitchen after the completion of the work 😵


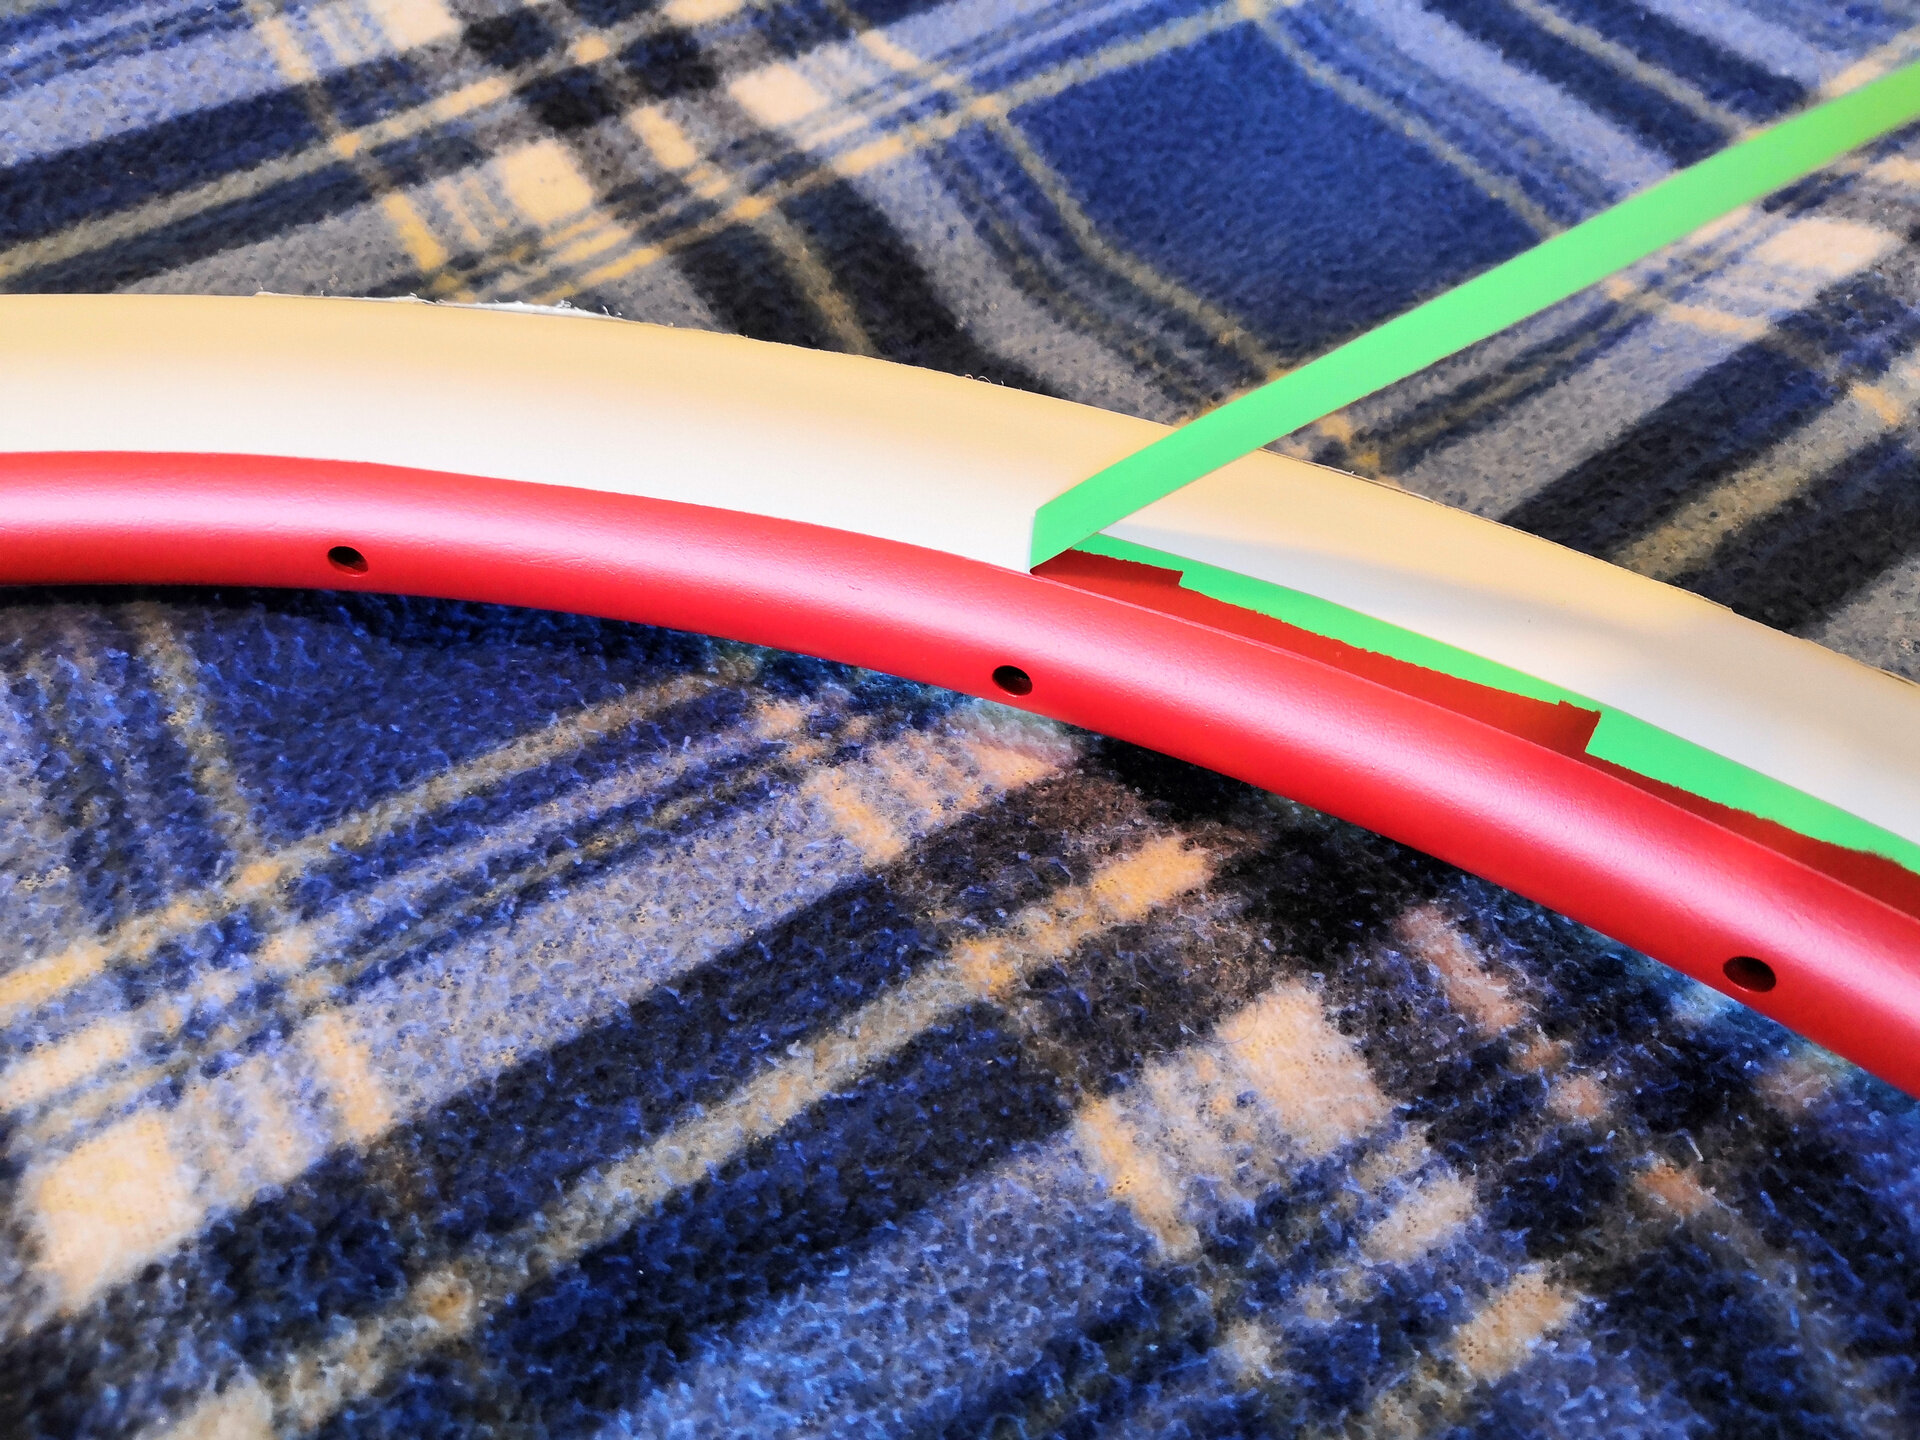
But since I already have to wash everything, then why stop? I started to apply paint. This time I painted with white paint first, I decided to avoid the risk of red spots. Then I stuck the contour tape around the circumference. It can be rotated when sticking, as it is quite elastic, this allows you to make lines with a smooth turn. The rest was protected with masking tape.

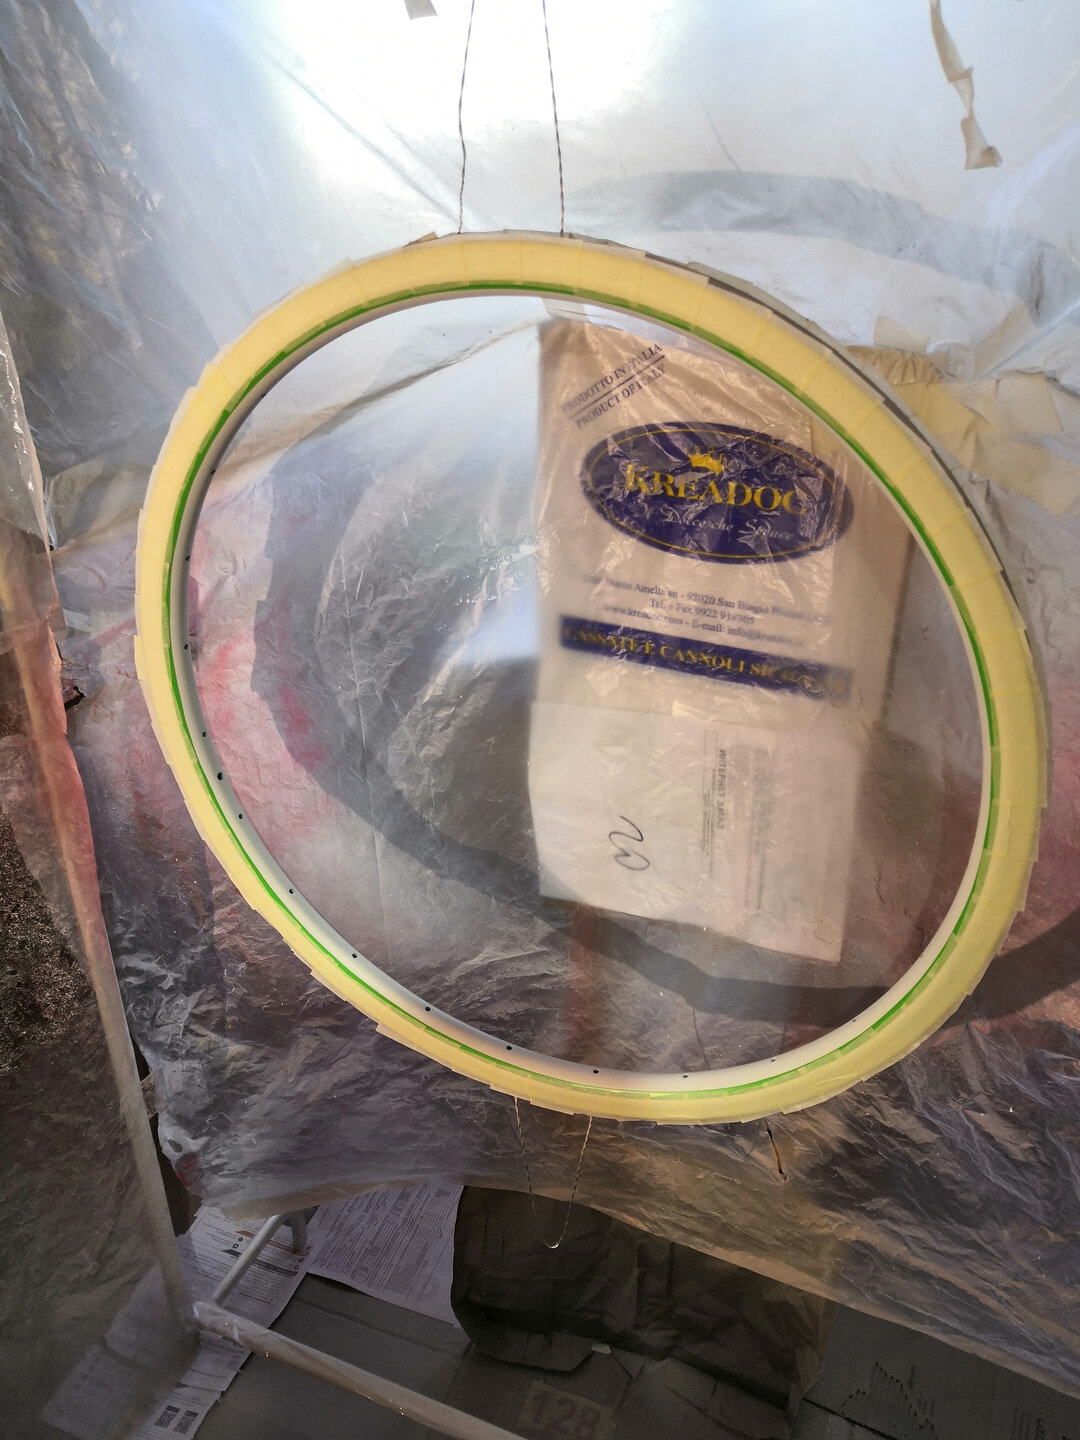

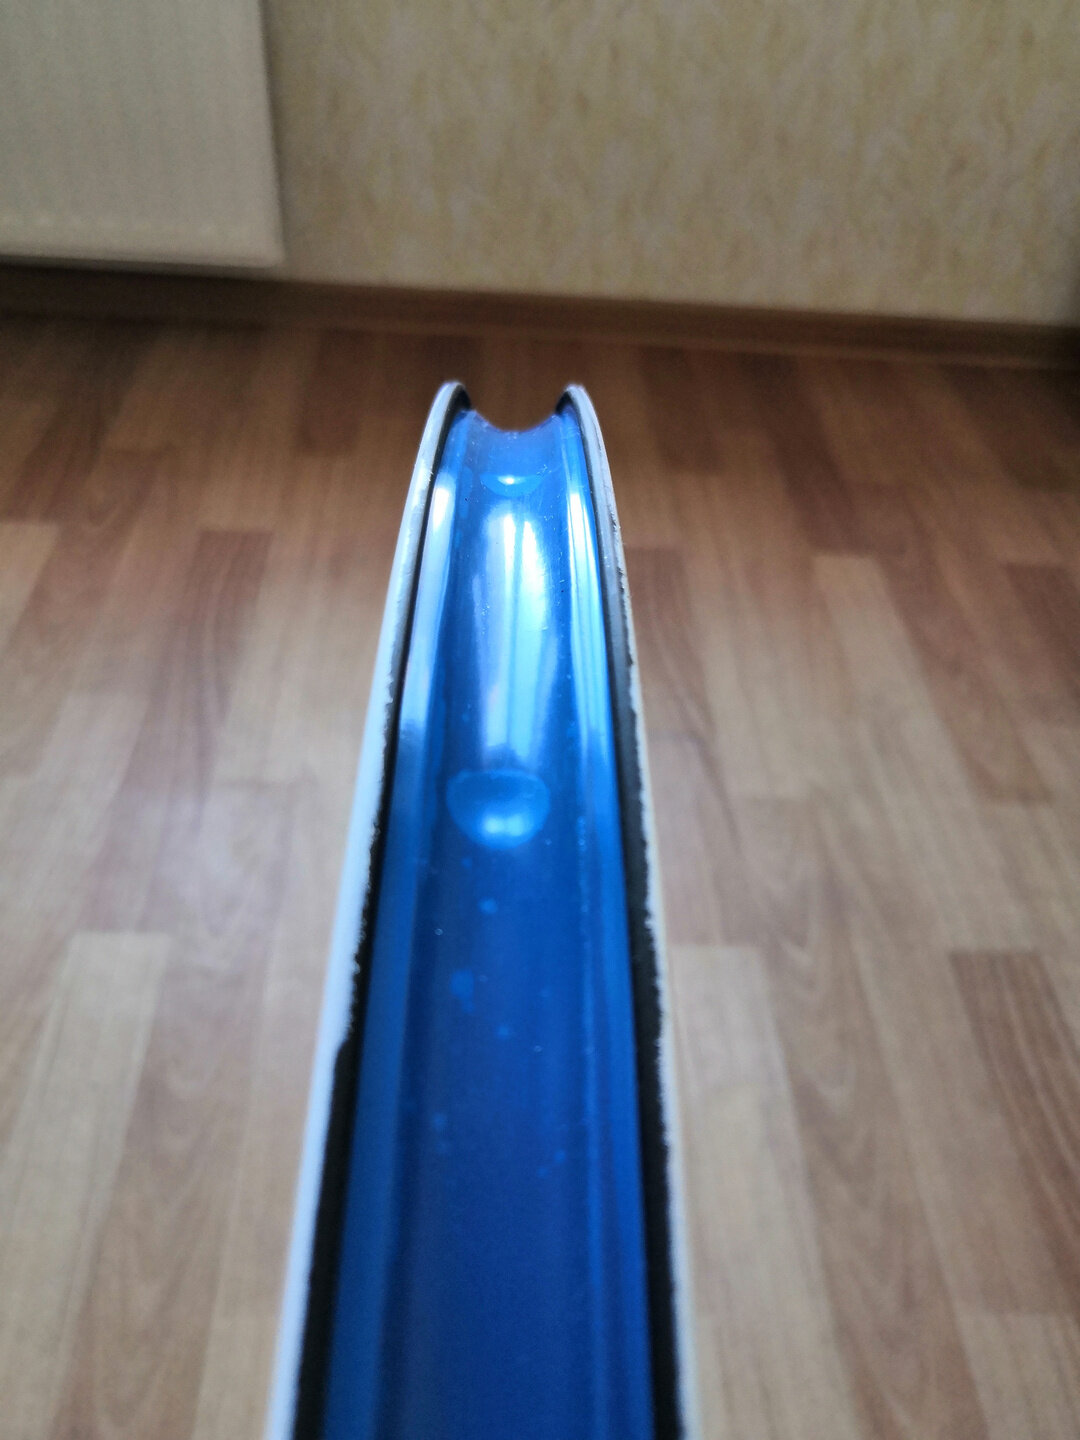
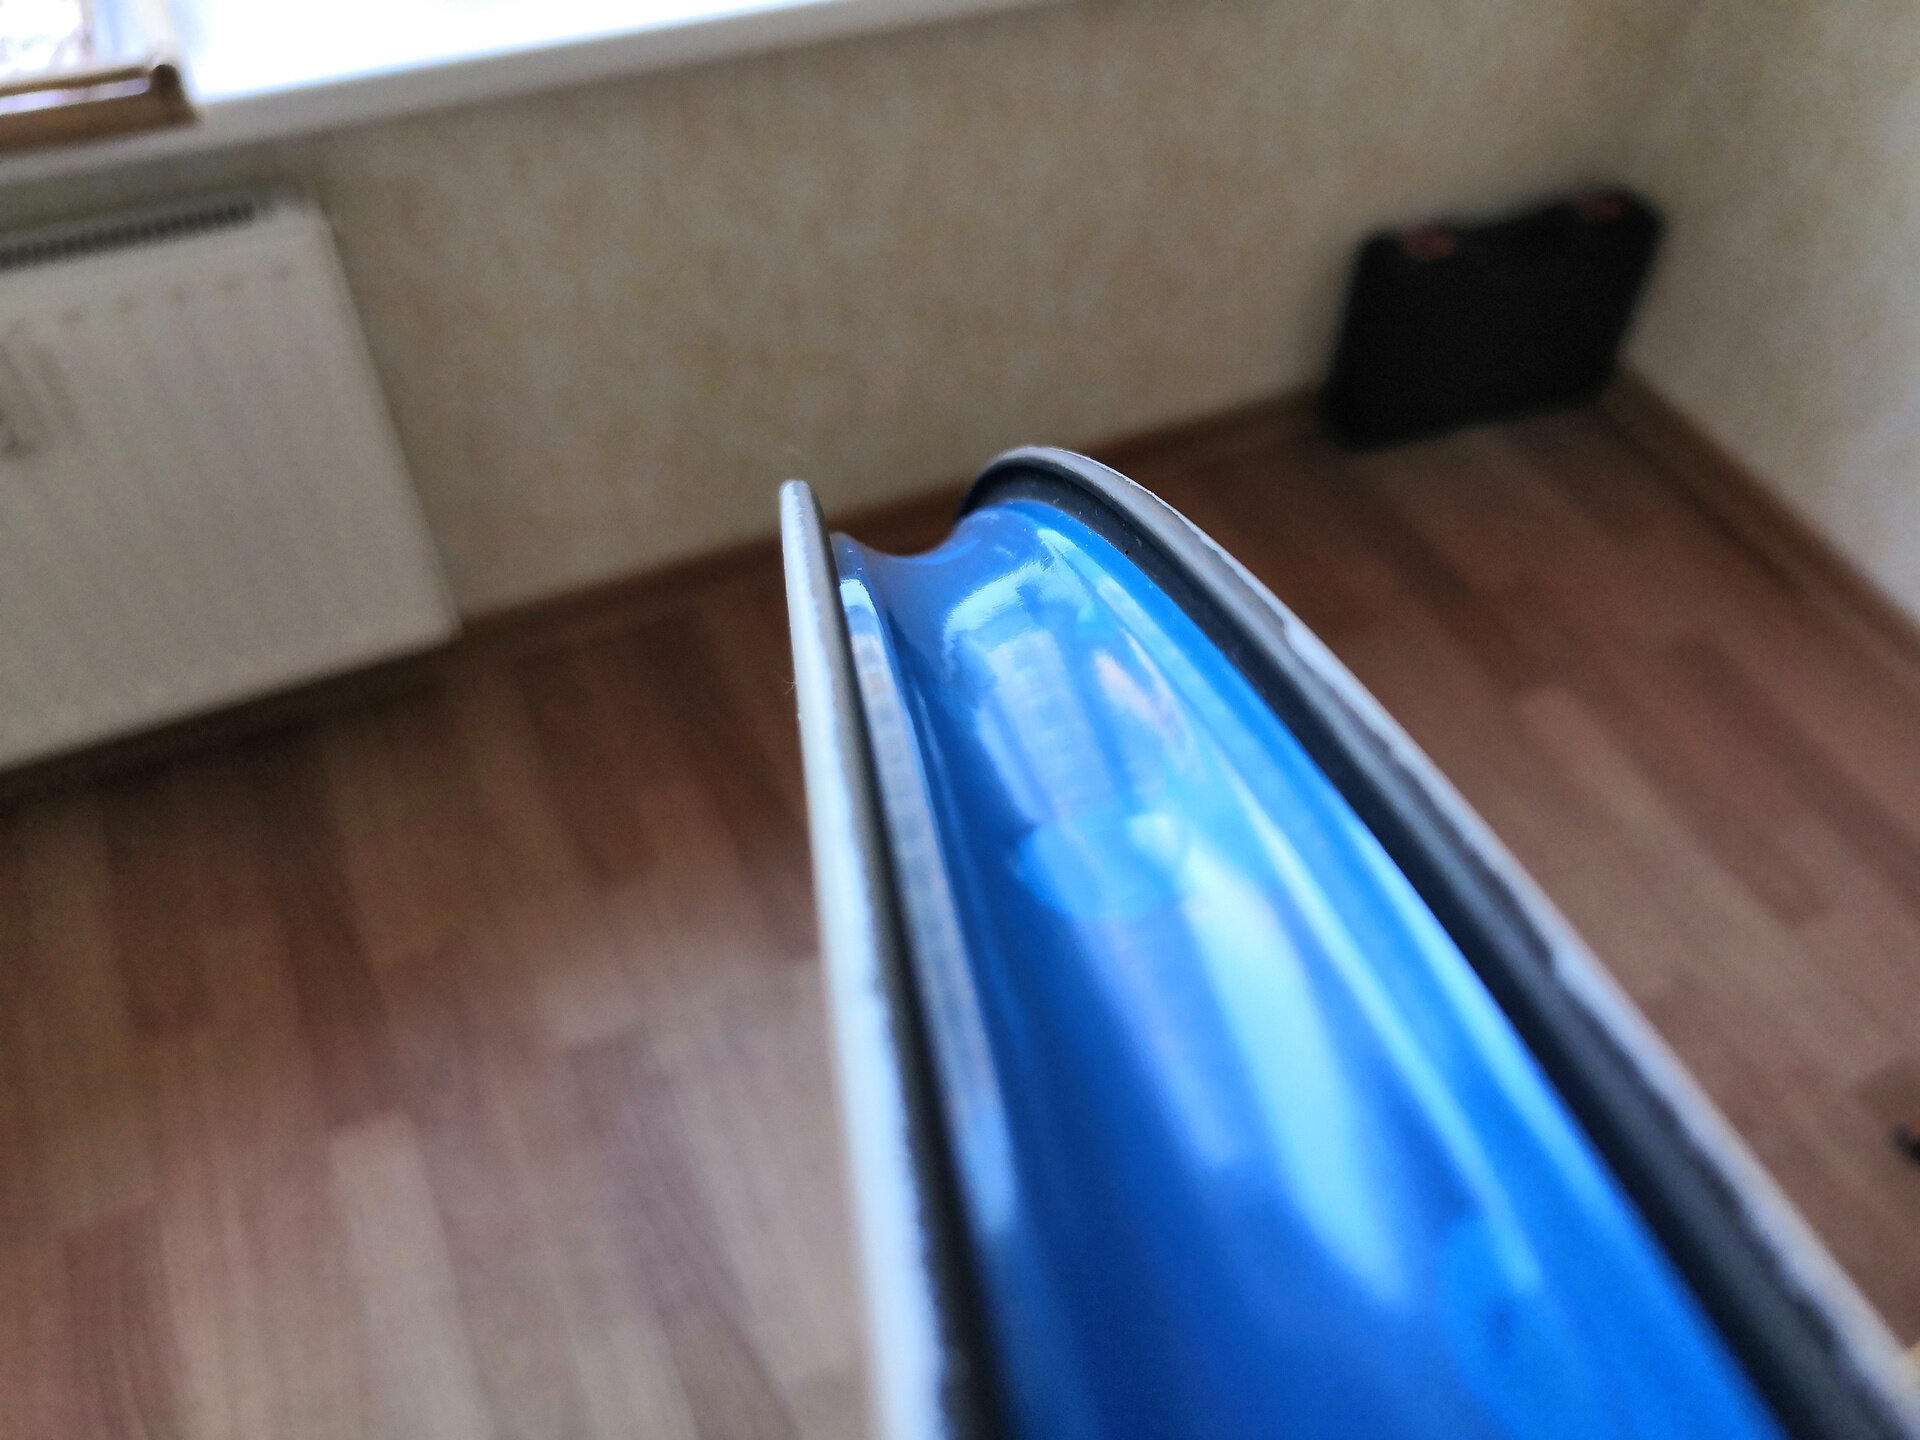
I applied red paint. After drying, I took off the masking and contour tape, the result was exactly what is needed! As I planned 😀 Then I again hung the rims, but this time in order to cover them with a layer of varnish.


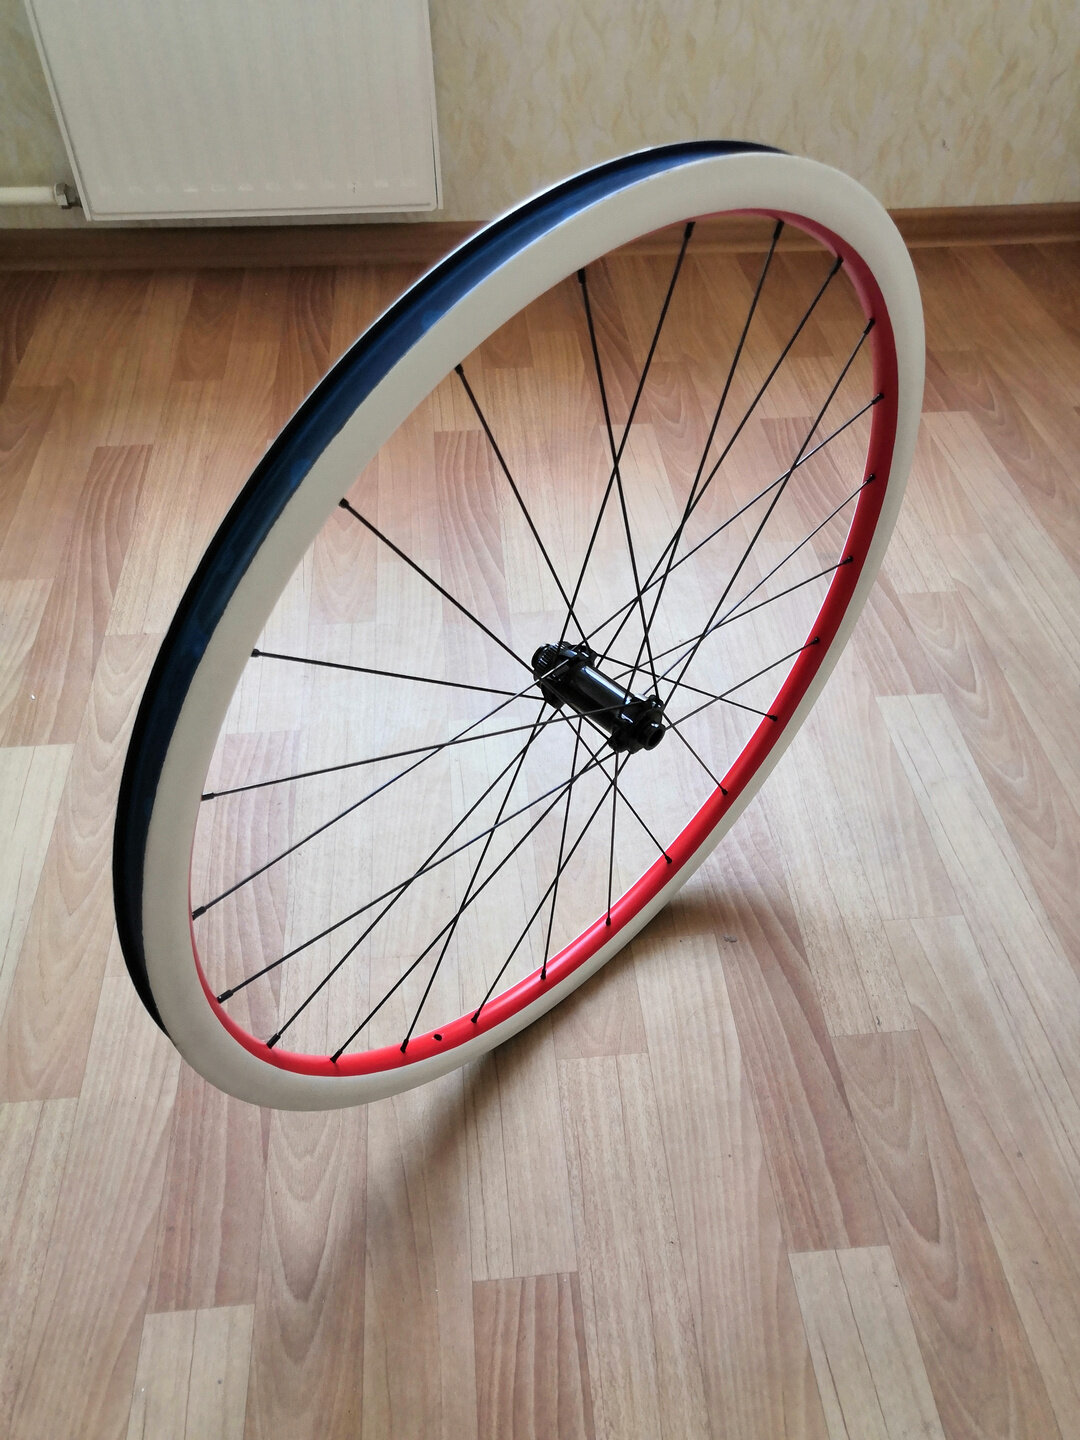
As a result, I got very beautiful rims that perfectly match the color of the frame. But I spent a lot of time on it! I had to buy additional primer and white paint since one can was not enough. If before that I had not painted the stem, it would have been enough. The varnish was enough right back to back, honestly, I would prefer to add one more layer. I will not say how much solvent and time I then spent wiping every inch of the kitchen and every object on it.
I now understand why the painting service is not cheap, it is not the most pleasant job. Although if you have a garage and all the necessary materials (the main thing is accessories to protect the place from paint), this can be done much faster.
Build wheels
Everything is there: rims, hubs, spokes, valve stems, rim tape, tires, sealant. I can start building the wheels. At first, I thought to build the wheels myself, but then I decided not to suffer, I gave this to a workshop.

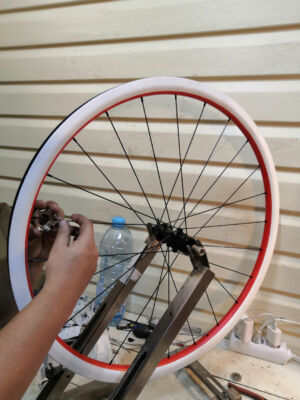


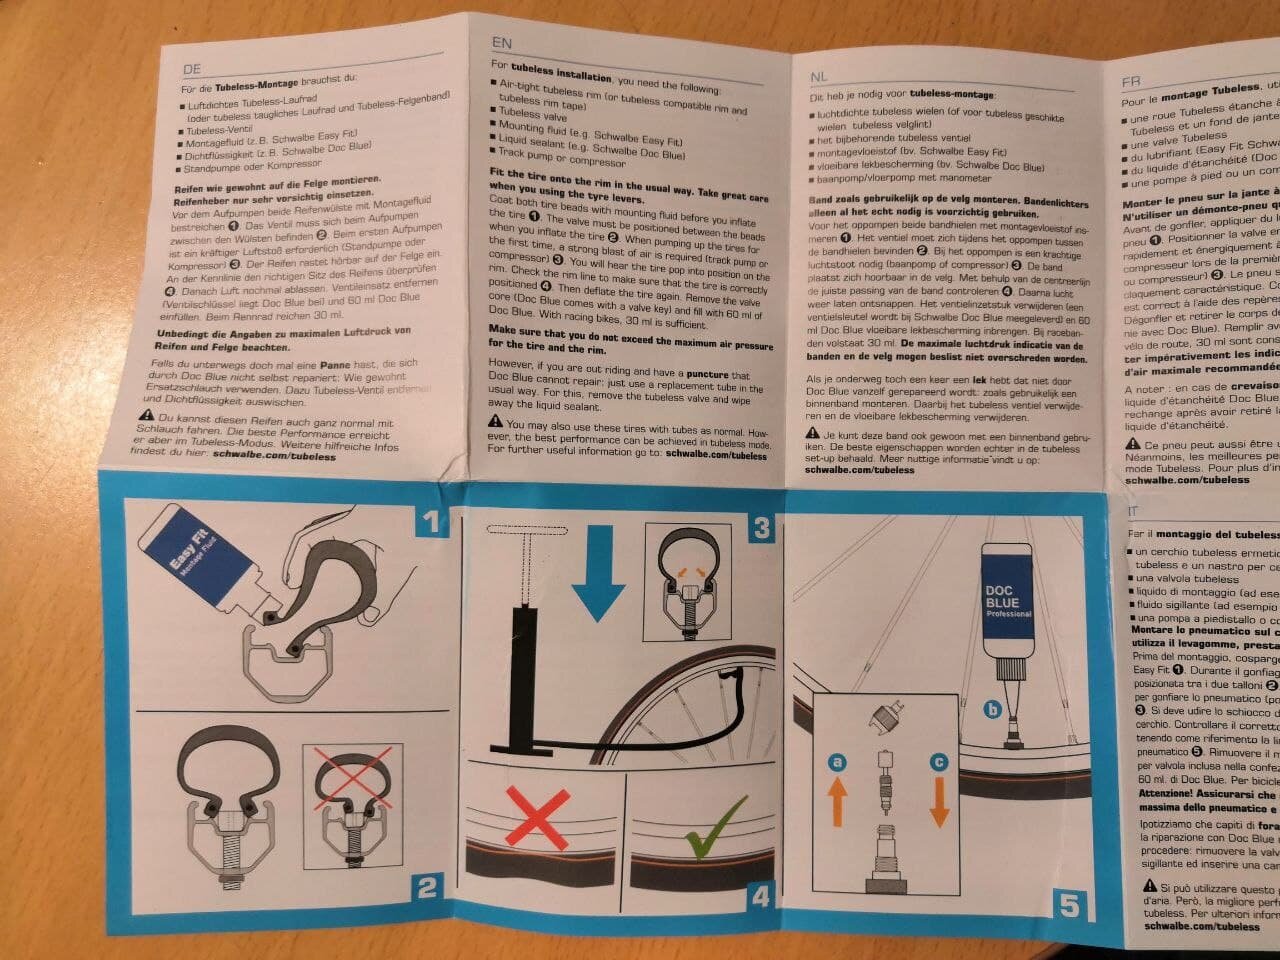
When I got the built wheels back, I glued the rim tape, put in the valve stems, put on the tires. But the tires are tubeless, so in order to seat the tire bead in the rim lock, it is necessary to quickly pump air under high pressure, this cannot be done with a typical pump. I went to the nearest workshop, there was only a compressor (the same as at gas stations). No matter how much they tried to pump air, nothing came of it, tire bead didn’t seat in the place. The air leaked out along the entire perimeter of the tire, and it was not possible to build up pressure, no matter how we tried to close gaps.
This made me sad. After all, I have been choosing rims for so long, they are marketed as Tubeless compatible. The tires are also marketed as Tubeless easy. They should have been perfect for each other, but something went wrong 😔 And it’s not clear what the problem is, the tires or the rims.I have an assumption that all these compatibility tables are for tires with tube. And in my case, tubeless tires are too narrow for rims. It seems to me that if there were a wider tire, it would have sat on the rim as it should.

There is no choice, I had to buy tubes. Surprisingly, it turned out to be difficult! I visited 7 shops in the district and there were no 35mm wide 700C tubes anywhere. Either narrow for road, or wide for 29″, or with short valve stem (I need at least 40mm since the rims are high profile). As a result, I found the right ones in the online store. By the way, I bought Schwalbe tubes, and they are noticeably lighter than similar Specialized tubes, which a friend lent me for a while.
In theory, a pump with a high-pressure camera is needed to install tubeless tires. However, in one of the workshops where there is such a pump, I was told that there were cases when the pump did not help to install the tires. After listening to my story that it was not possible to inflate the tires with a compressor, the master said that most likely the pump would not be able to cope and refused to work.
Conclusion
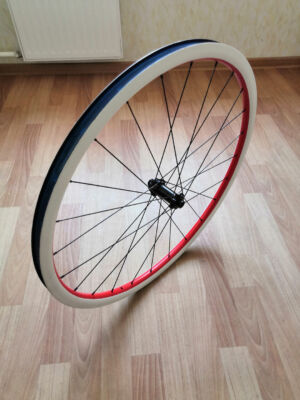
As a result, I have to ride on wheels with tubes. Pity, I wanted to try tubeless wheels, they would have been even lighter.
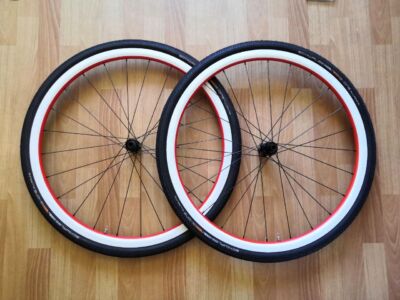
In the rest, I am satisfied, they look very cool! I thought 35mm tires would look wider, but overall I like it.